
Enable delivery management
1. Open your dashboard and then click on Configure System.
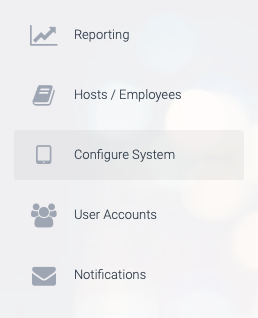
2. Next, click on Deliveries.

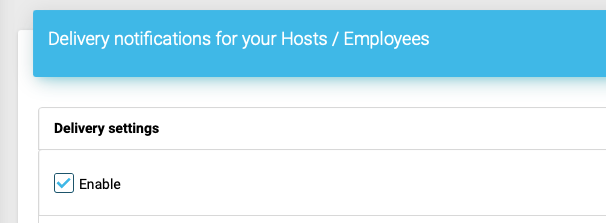
3. Under the heading Delivery settings, check the box labelled Enable.
4. Decide whether you would like employees to mark their parcels as collected and whether they need to sign to collect them.

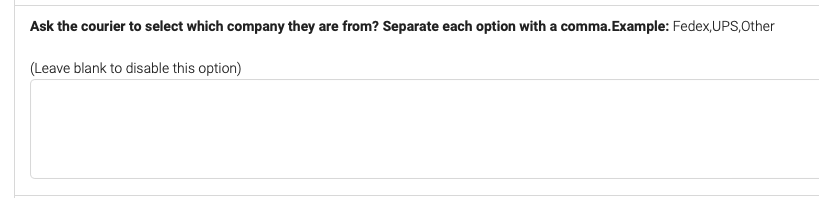
5. If you would like to record the name of the company that has made the delivery, enter each option seperated by a comma in the section labelled Ask the courier to select which company they are from? Separate each option with a comma.
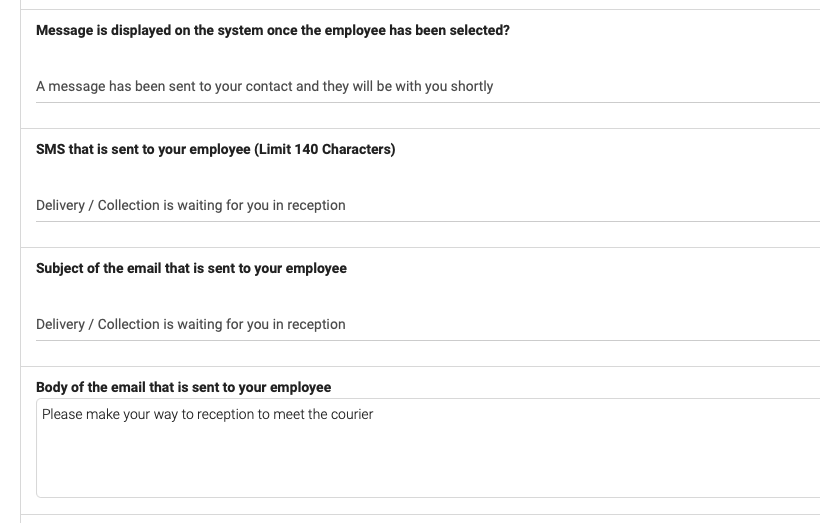
6. Next, customise the message that is sent to the recipient.
7. If you would like the delivery notification to be sent to more email addresses, add them into the section labelled Add extra email addresses into each delivery notification.

8. To avoid your dashboard getting clogged up with old deliveries, select how many days before the delivery is considered collected.

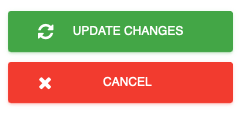
9. Lastly, click on UPDATE CHANGES the save your changes.