
Set-up Microsoft Teams notifications
VisitUs offers the ability to send host notifications via Microsoft Teams. To set-up this feature, follow the step-by-step guide below.
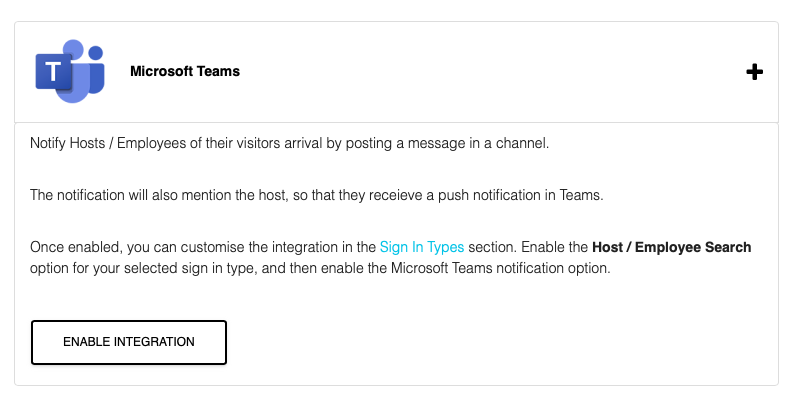
Login to your VisitUs dashboard and head to Configure System -> API & Integrations -> Microsoft Teams. Click on the button to enable the integration.
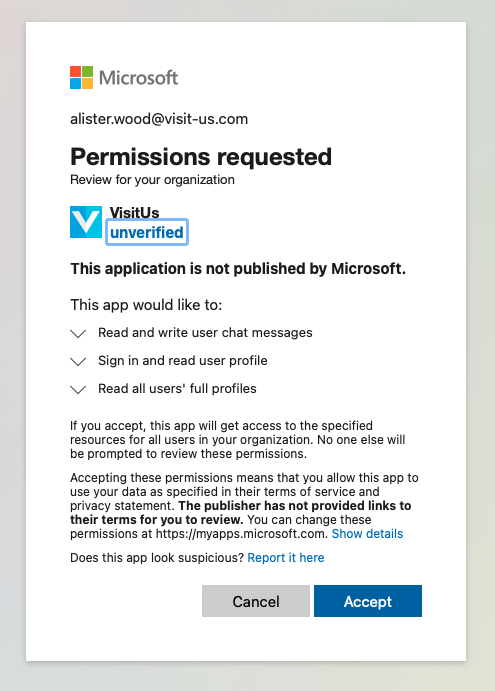
You will now need to login with your domain account and accept the connection between VisitUs and your domain.
You must be a domain administrator to complete this step.
The page will now redirect you back to your VisitUs dashboard.
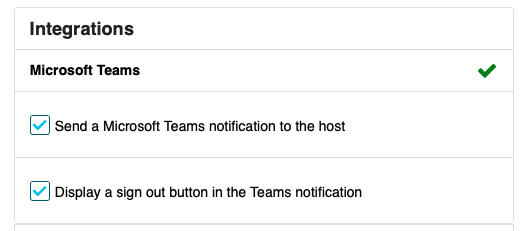
You can now customise which sign in types trigger a Teams notification, so head over to Configure System -> Sign in types.
Select the sign in type that you would like to trigger the notification. Under Integrations, click on the heading labelled Microsoft Teams.
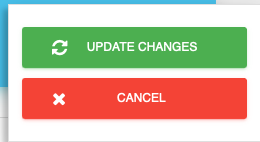
Now that everything is all set-up, make sure to save you changes in the dashboard by clicking on the Update changes button