

Set-up Microsoft Single Sign-on
Step 1: Create an Enterprise Application
Sign in to the Azure portal. https://portal.azure.com/
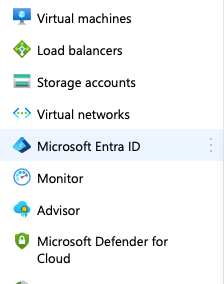
In the left-hand navigation pane, select Microsoft Entra ID.
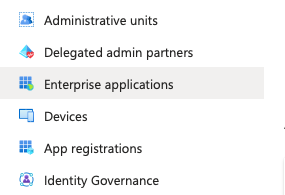
Then click on Enterprise Applications.
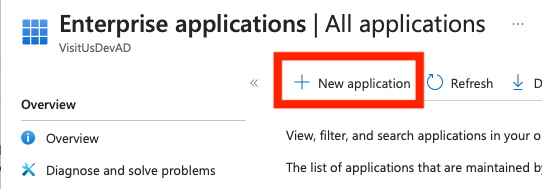
Click on + New application.
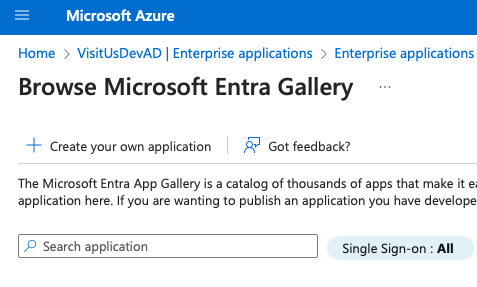
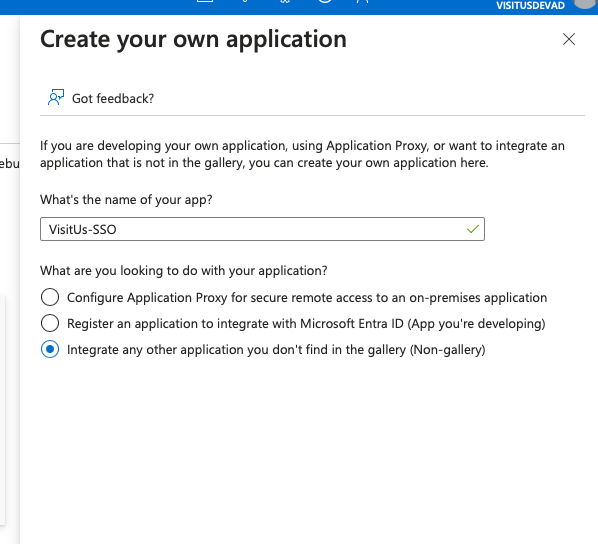
Select Create your own application.
Enter a name for your application, (e.g VisitUs SSO) and then select Integrate any other application you don’t find in the gallery (Non-gallery)
Step 2: Configure Single Sign-On
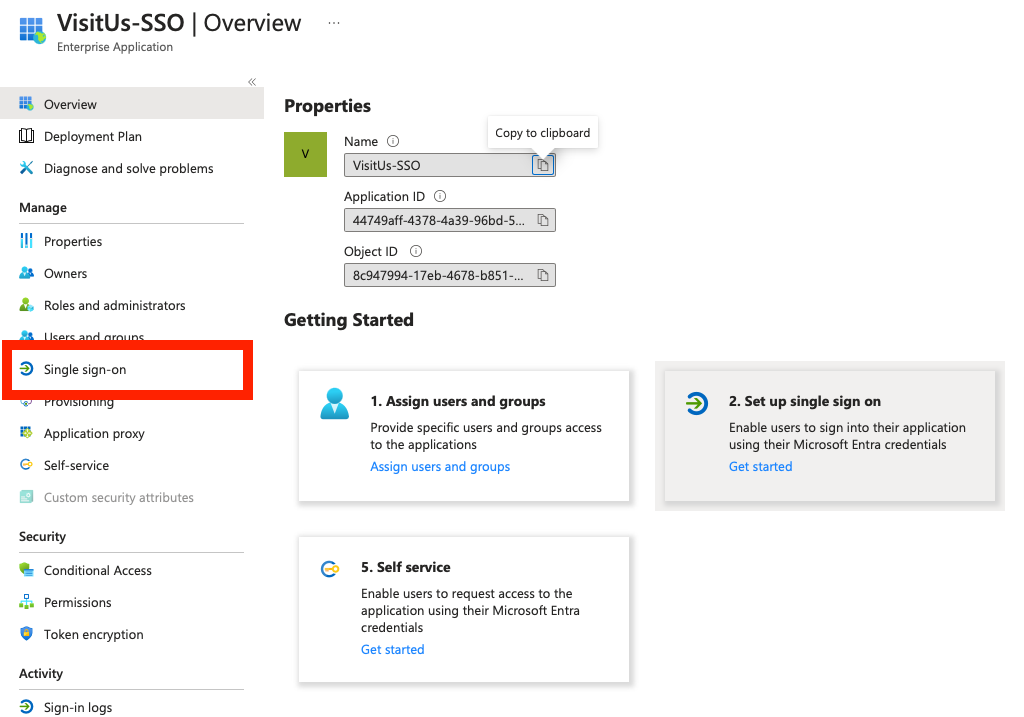
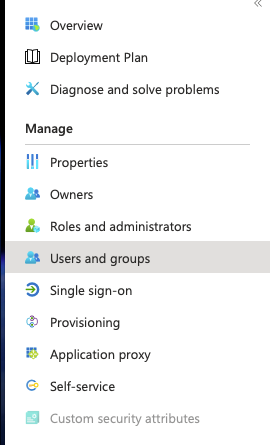
In the newly created application, under Manage, select Single sign-on.
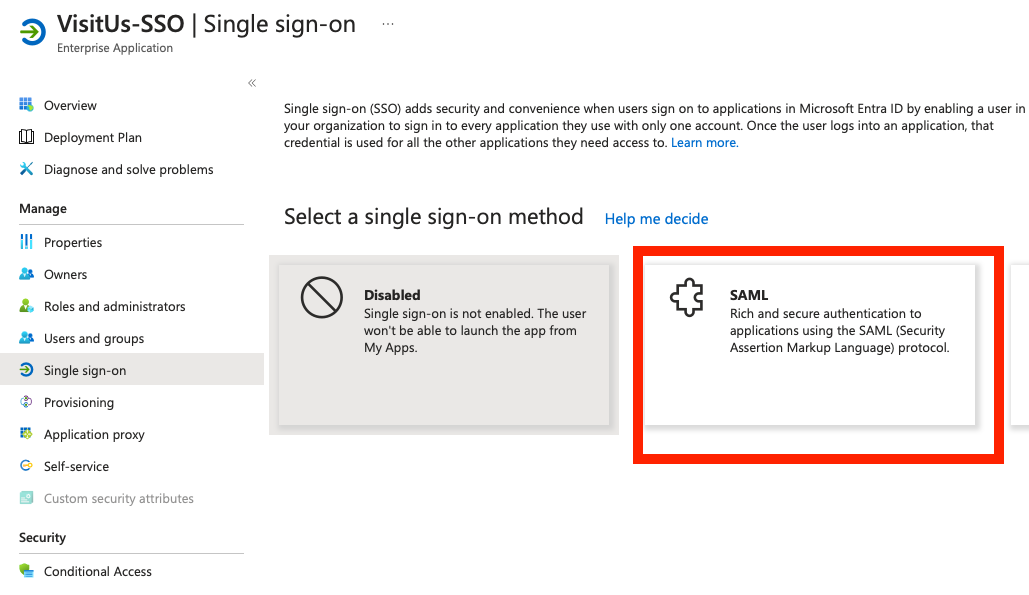
Select SAML.
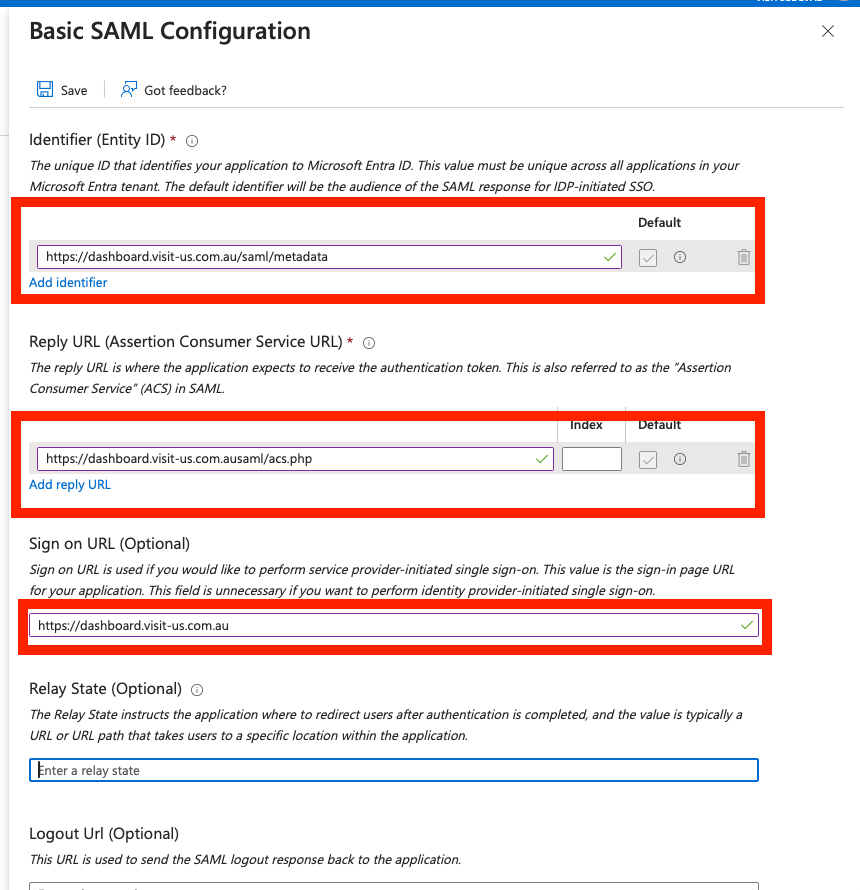
In the section Basic SAML Configuration, click on Edit.
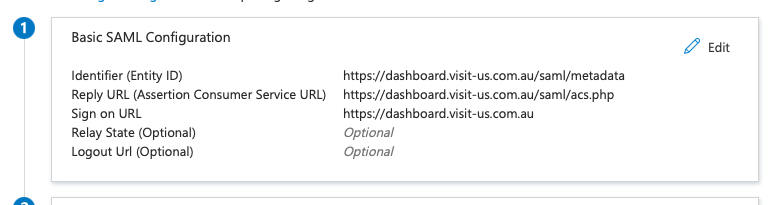
Enter the below details:
Identifier (Entity ID).
Click Add identifier and then enter one of the below:
For AU Hosted Enter: https://dashboard.visit-us.com.au/saml/metadata
For US Hosted Enter: https://dashboard.visit-us.com/saml/metadata
For EU Hosted Enter: https://dashboard.visit-us.eu/saml/metadata
———–
Reply URL (Assertion Consumer Service URL).
Click Add identifier and then enter one of the below:
For AU Hosted Enter: https://dashboard.visit-us.com.au/saml/acs.php
For US Hosted Enter: https://dashboard.visit-us.com/saml/acs.php
For EU Hosted Enter: https://dashboard.visit-us.eu/saml/acs.php
———–
Sign on URL
For AU Hosted Enter: https://dashboard.visit-us.com.au/
For US Hosted Enter: https://dashboard.visit-us.com/
For EU Hosted Enter: https://dashboard.visit-us.eu/
———–
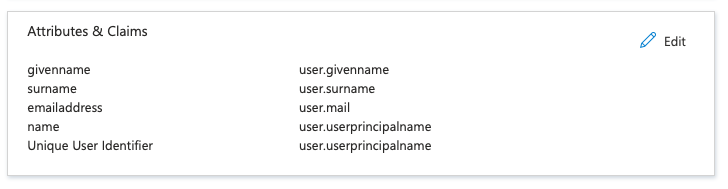
Step 3: User Attributes & Claims
These settings shouldn’t need to be changed. But check that they match the image below:
Step 4: Record your settings
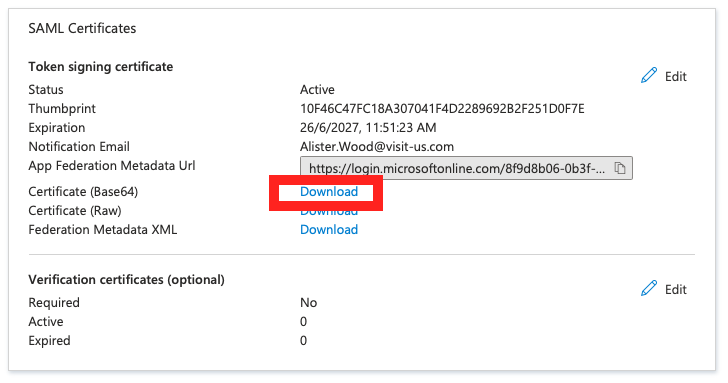
Under SAML Signing Certificate, first click on Edit
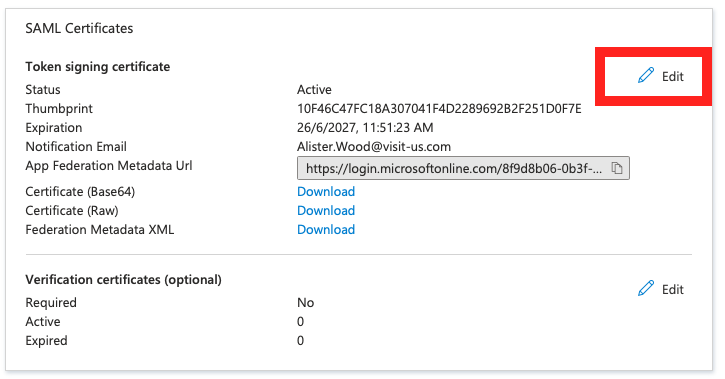
Then change the Signing Option to Sign SAML response and assertion, and then click Save
Next, click Download next to Certificate (Base 64)
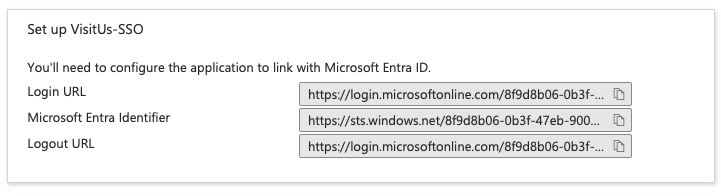
Then scroll down to the section Set up YOUR-APP-NAME (eg VisitUs-SSO) and copy all three URLs.
Step 5: Add users
On the left, click on Users and groups
Then click on + Add user/group at the top.
Click on None Selected under Users, then add in people that will need access to the VisitUs Dashboard.
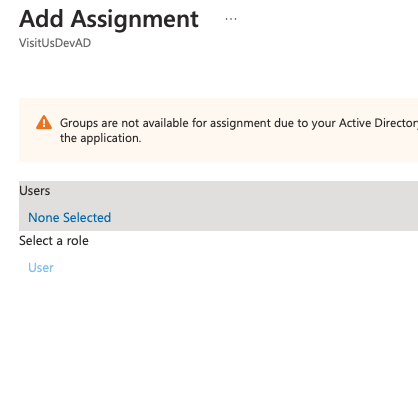
Click on Select at the bottom and then Assign.
Step 6: Update the VisitUs dashboard
Login to the VisitUs dashboard as an admin using your exisiting VisitUs account.
For AU Hosted: https://dashboard.visit-us.com.au/
For US Hosted: https://dashboard.visit-us.com/
For EU Hosted: https://dashboard.visit-us.eu/
Then click on Configure System
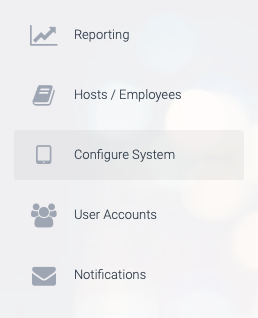
Followed by API & Integrations
Next, click on Single Sing-On (SAML).
![]()
Now paste the URL’s that we saved earlier.
Login URL = Login URL
ID Identifier URL = Microsoft Entra Identifier
Logout URL = Logout URL
To extract your X509 certificate, right click on the certificate you downloaded earlier and open it in a text editor.
It should look something like this:

Paste this into the X509 certificate box
Click on Save and single sign-on set-up is now complete.
It’s very important to note that you must add new dashboard users into the system using the User accounts section in the dashboard before they can sign-in using single sign-on.
To add new users to the dashboard, follw this short guide